
How to Fix a Leaking Tap: A Step-by-Step DIY Guide


Dealing with a leaking tap can be frustrating, not to mention the waste of water it causes. Fortunately, fixing a leaking tap is a simple task that you can handle on your own with the right tools and guidance. In this DIY guide, we will walk you through the process step by step, ensuring your tap is leak-free in no time.
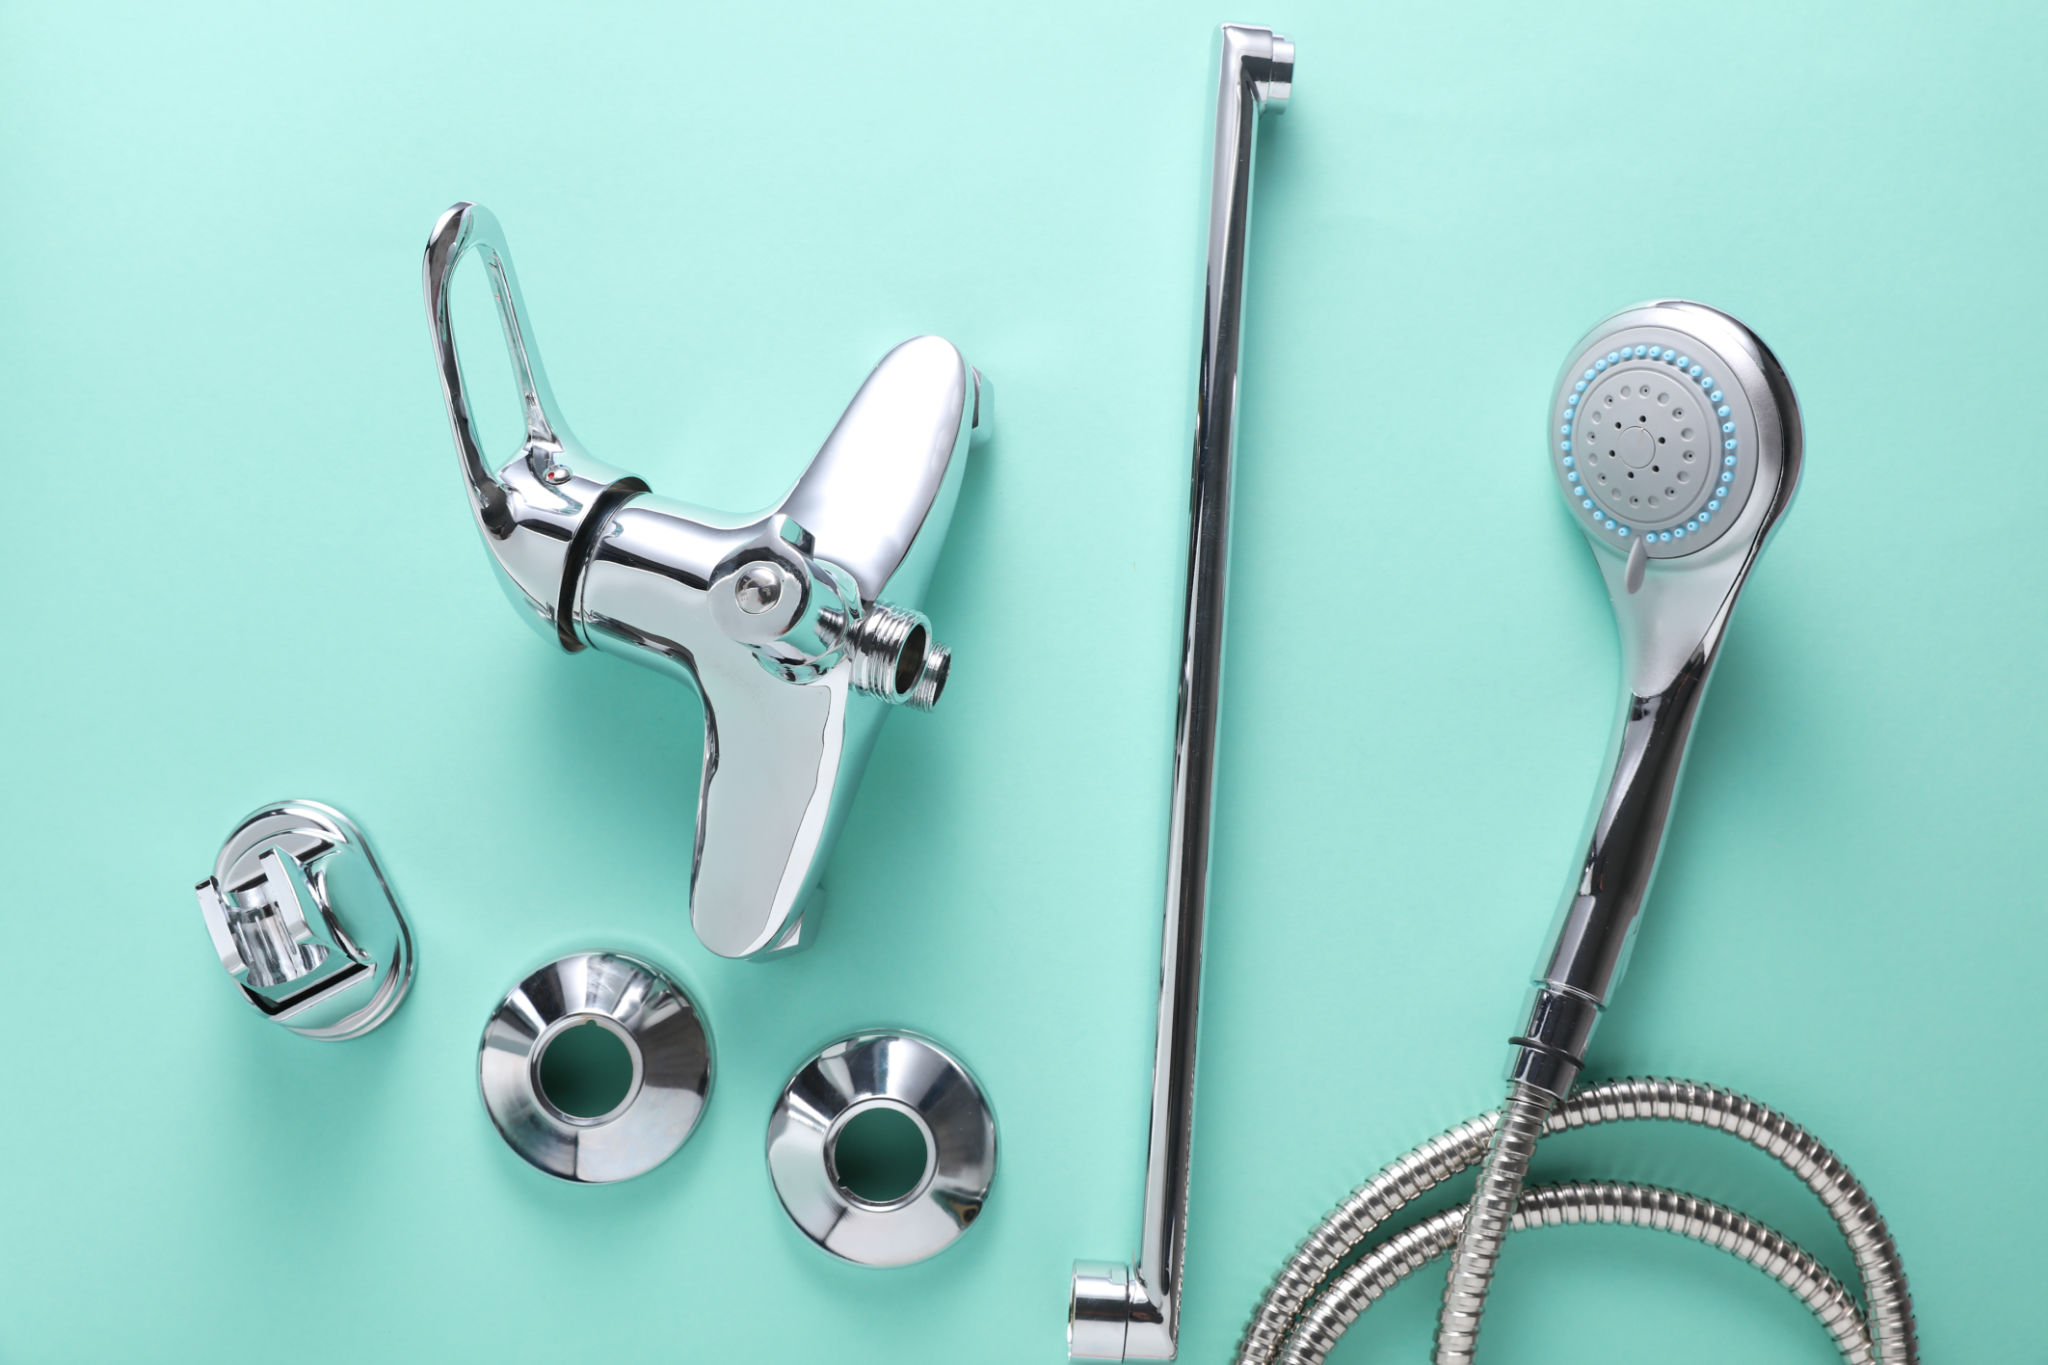
Gather Your Tools and Materials
Before you begin, it's crucial to have all the necessary tools and materials on hand. This will make the process smoother and more efficient. Here's what you'll need:
- Adjustable wrench
- Screwdriver
- Replacement washers or O-rings
- Plumber's tape
- Cloth or towel
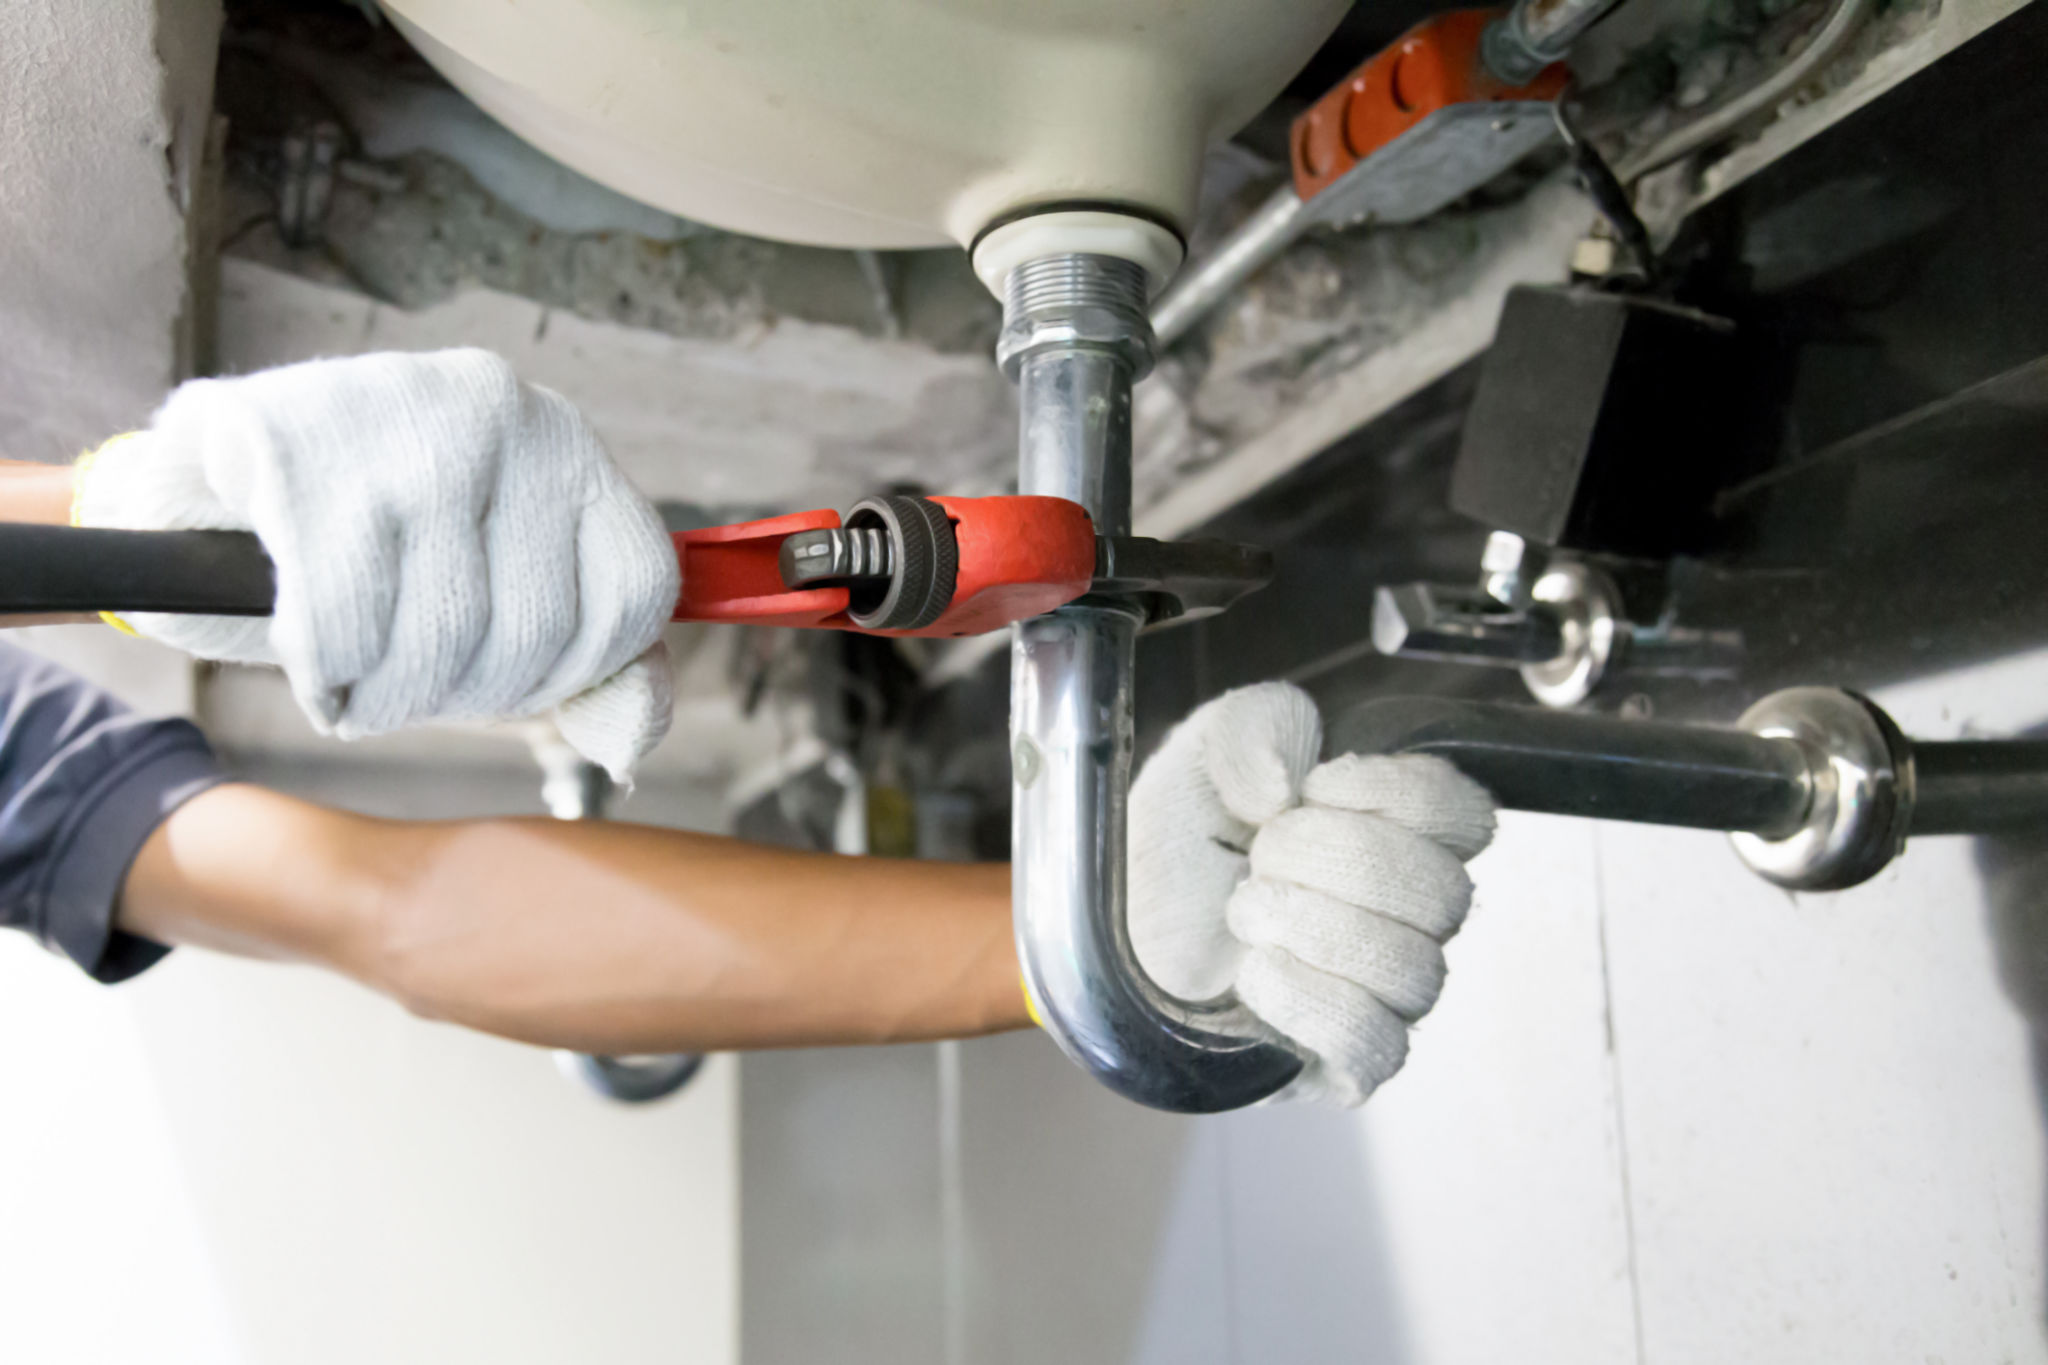
Shut Off the Water Supply
The first step in fixing a leaking tap is to turn off the water supply. Locate the water shut-off valve under the sink and turn it clockwise to stop the flow of water. If the valve is difficult to turn, use a cloth or towel for better grip.
Disassemble the Tap
Once the water supply is off, it's time to disassemble the tap. Use a screwdriver to remove any decorative caps and screws, then carefully take apart the handle to access the internal components.
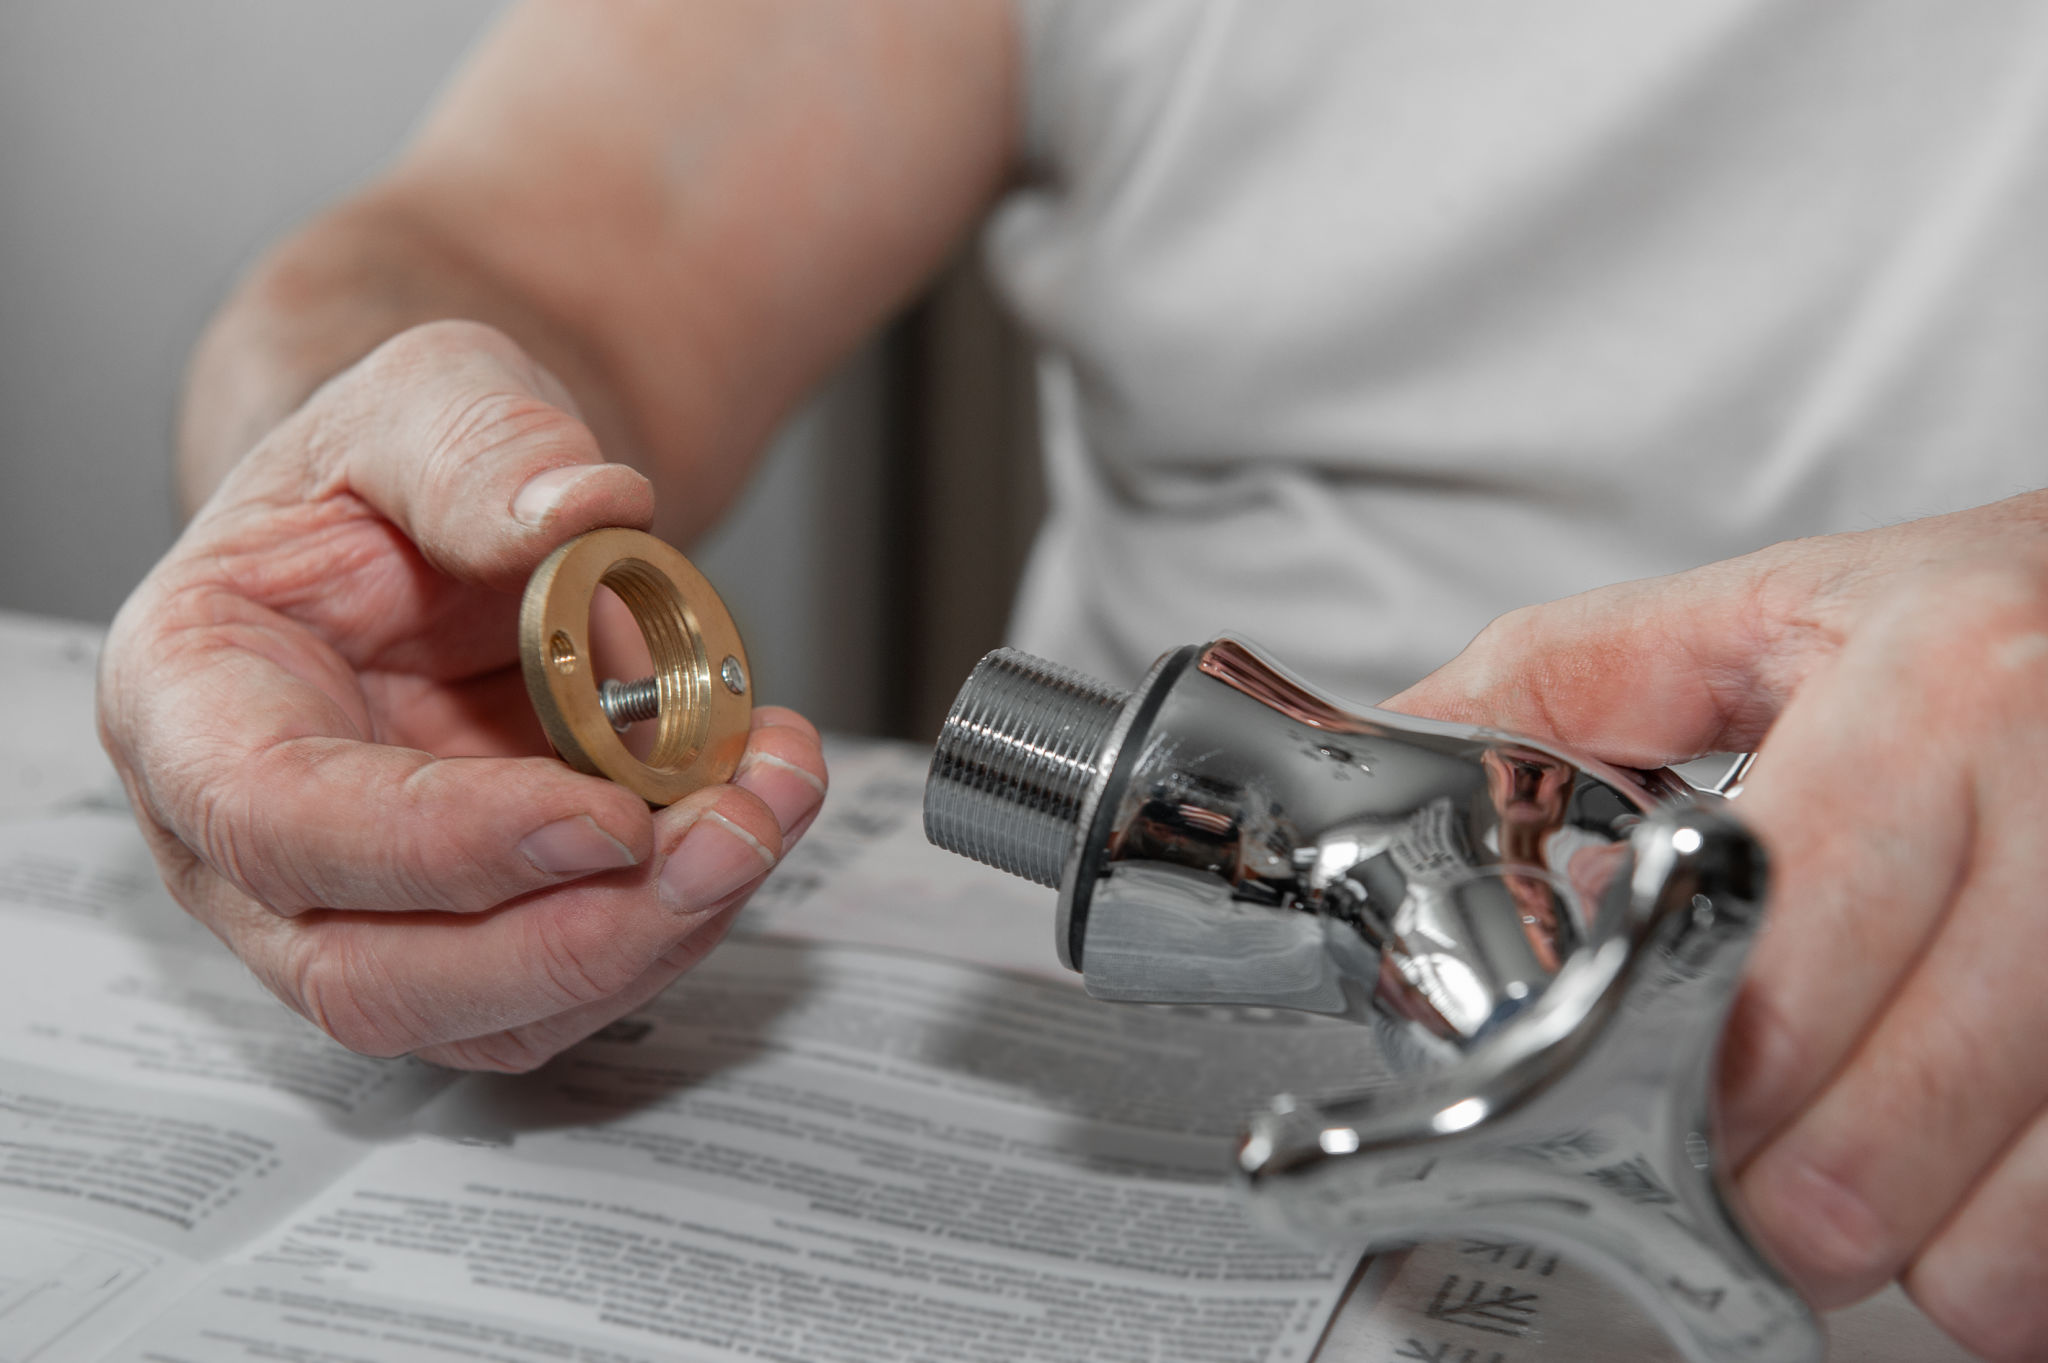
Inspect and Replace Damaged Parts
With the tap disassembled, inspect the washers and O-rings for signs of wear and tear. These are often the culprits behind leaks. If they appear damaged or worn out, replace them with new ones. Ensure you have the correct size for your tap model.
Reassemble the Tap
After replacing the necessary components, reassemble the tap by reversing the disassembly steps. Ensure all parts are tightly secured but avoid over-tightening, as this can cause damage.
Turn On the Water Supply
With everything back in place, turn the water supply back on by rotating the shut-off valve counterclockwise. Check for any leaks and ensure that the tap is functioning correctly. If there are still issues, double-check your work for any missed steps or loose components.
Test and Finish
Finally, test your tap by turning it on and off several times to ensure no leaks occur. If everything is in order, you've successfully fixed your leaking tap! Not only have you saved water, but you've also gained valuable DIY skills for future plumbing tasks.
By following these steps, you can confidently tackle a leaking tap on your own, saving both time and money on professional repairs.